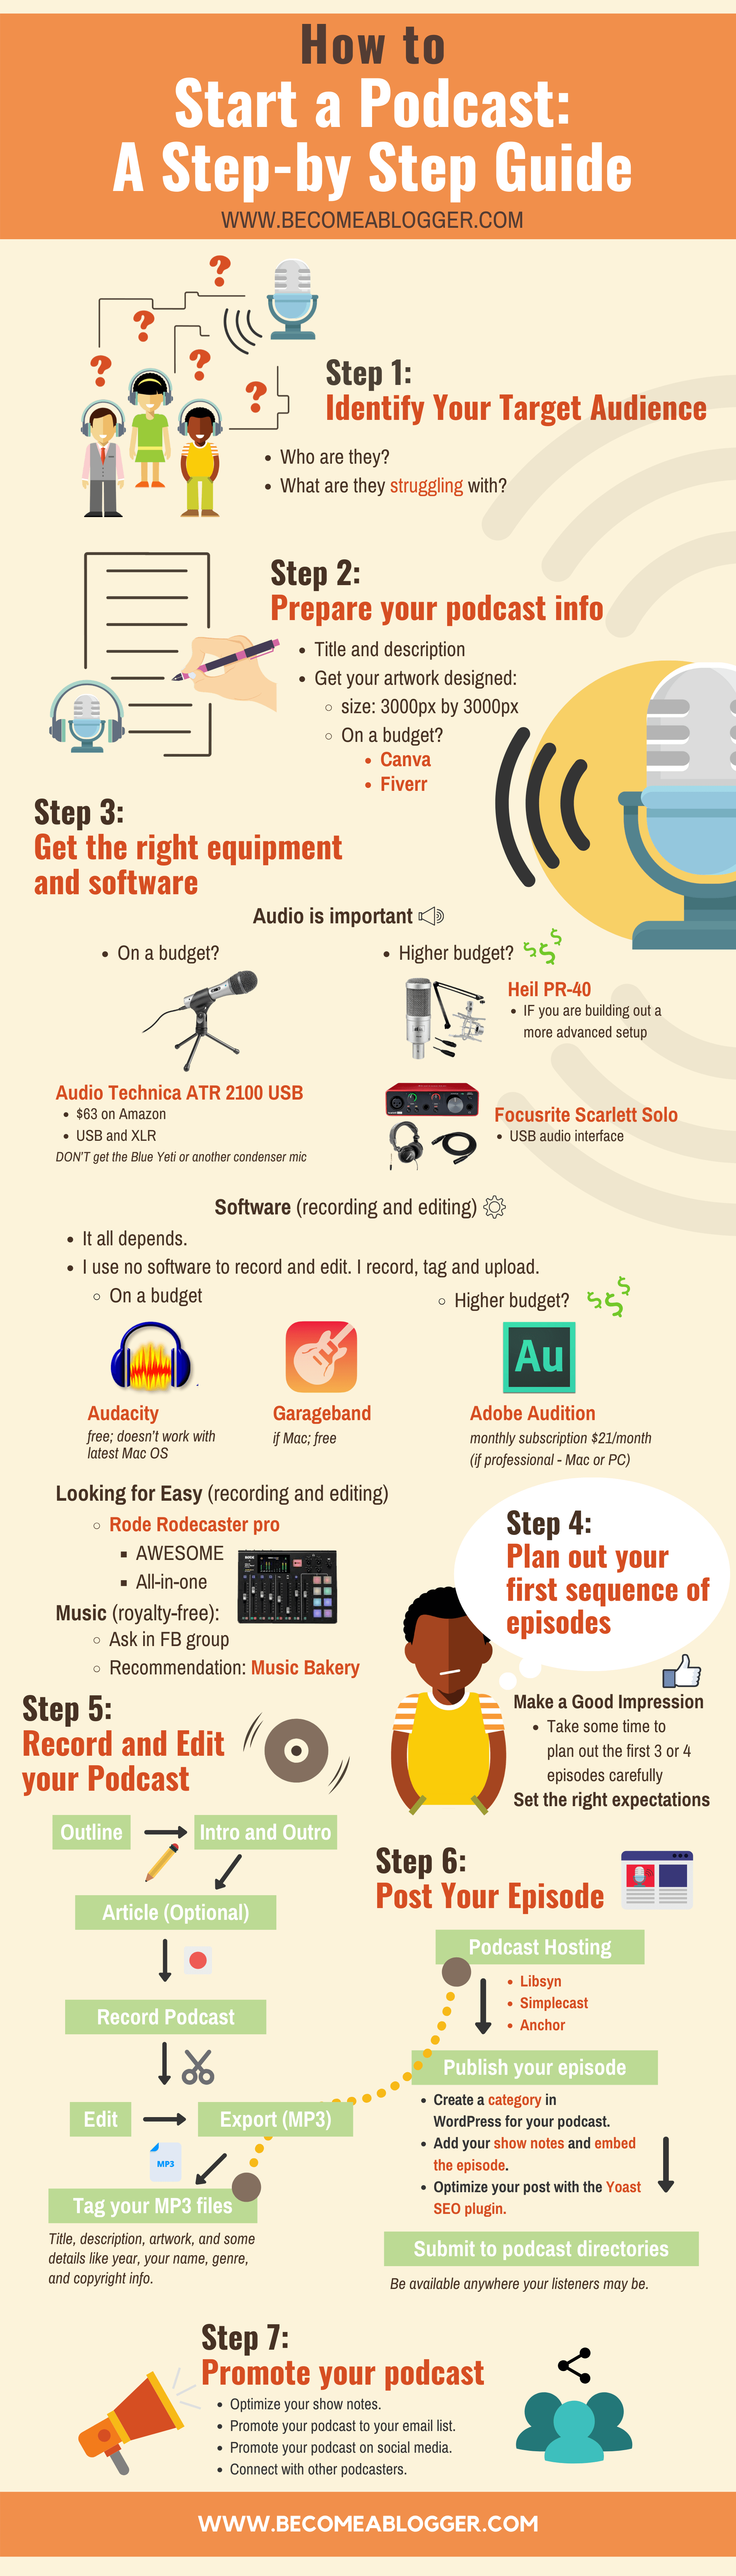
Are you looking to start a podcast? Do you find yourself confused about the tech you need or the steps you should take? If you follow the seven steps I cover in this post, you will have your podcast up and running.
Listen to the episode
Since we're talking about how to start a podcast, it might be easier for you to listen to my podcast episode. In it, I walk you through all the steps on this page. You can also subscribe in Apple Podcasts, Stitcher, Spotify or anywhere else.
A Summary of How to Start a Podcast (7 Steps)
I know – you are probably busy and don't have a bunch of time. Or maybe you want a quick overview of how to get started. This section is for you. Here are the exact steps:
- Identify your target audience
- Prepare your podcast info
- Get the right equipment and software
- Plan out your first few episodes
- Record and Edit your podcast
- Post your episode
- Promote your podcast
Now that you have those details, let's break them down.
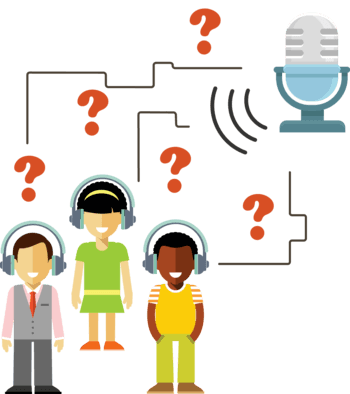
Step 1: Identify your target audience
This is the first step when it comes to creating any content online to grow an audience. You must first be clear on the audience you're trying to attract.
Who are they and, more importantly, what are they struggling with? As a content creator, you are catering to the needs of your (growing) audience. Knowing this can help you craft the right content.
Step 2: Prepare your podcast info
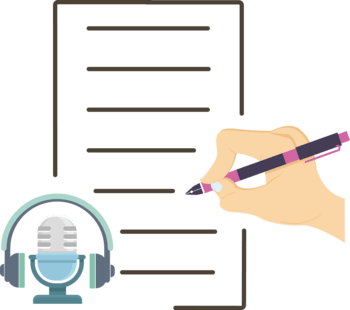
Once you've identified your target audience (and their struggles), it's time to prepare the info you need to submit your podcast to directories.
Craft a title and description. This should paint an accurate picture of what your podcast will be about and the value it provides. Your title and description should make it clear who your target audience is and what they struggle with.
It should also include a little bit of info about who you are and why you're the person they should listen to.
Lastly, you will need to get your podcast artwork designed. The dimensions of that square image should be 3,000 x 3,000. If you're on a tight budget, you can design it yourself with Canva or get it designed at Fiverr.
Alternatively, you can hire a professional designer to do it for you (best option).
Step 3: Get the right Equipment and Software
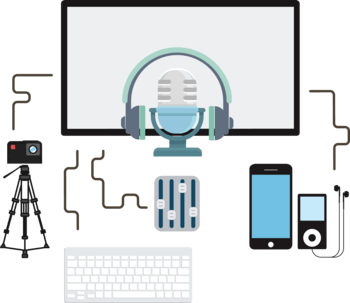
This is the step that gets people stumped. Here's the thing – when it comes to podcasting, your audio quality is super important.
Fortunately, you can get amazing quality audio without breaking the bank. And you can also get great software for as little as free.
Let's explore the options…
On a low budget? (under $100)
If you don't have a huge budget, don't worry. You can have a professional-sounding podcast with one microphone.
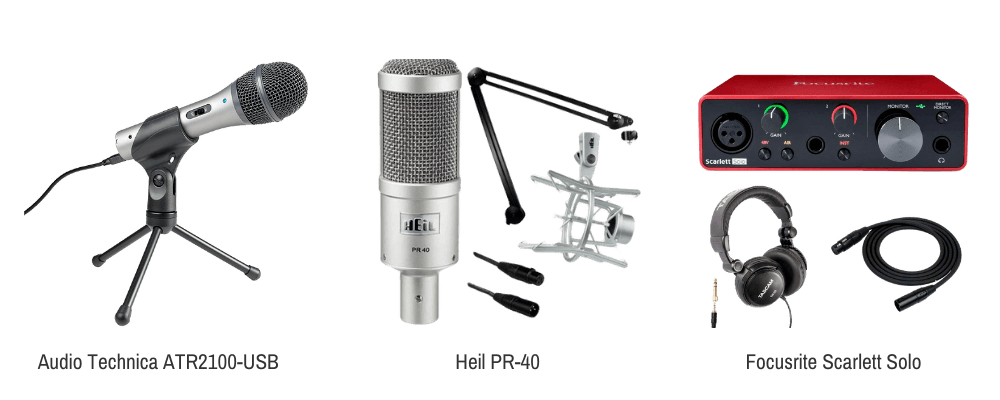
My recommended mic is the Audio Technica ATR2100-USB. It's a fantastic mic that has a USB output to easily connect to your computer. But what makes it great is that it also has an XLR output. This makes it so that if you upgrade later on to a more complex setup, you can bring it along.
The Heil PR-40
The mic that I use in my setup is the Heil PR-40. It's a high-quality mic that sounds awesome. It's a little on the pricier end but a great option for taking your sound quality to the next level. However, this is not a USB mic, meaning you would need an interface to connect it to your computer.
A good, relatively affordable option is the Focusrite Scarlett Solo.
Software for recording and editing your podcast
There are a number of programs that can be used to record and edit your podcast. The one you choose will depend on your budget and how advanced you want to get. Here are the most common options:
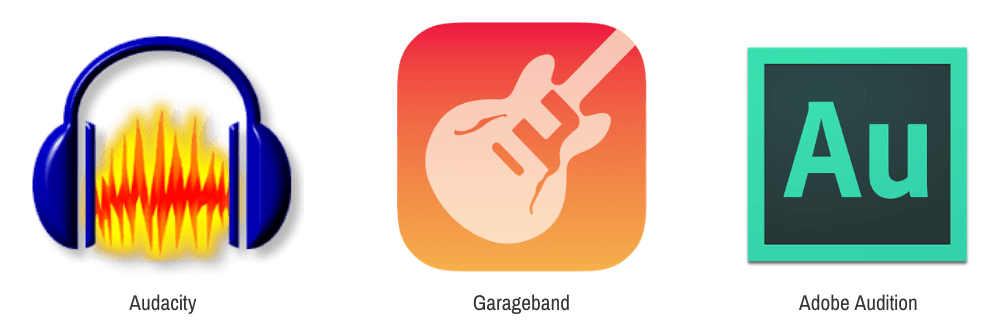
- Audacity: This is free, open-source software that's very basic.
- Garageband: This is Mac only. It allows you to do a bit more than Audacity, and it's free.
- Adobe Audition: If you're looking for professional software, this is probably the best for podcasting. However, it does require a monthly subscription
- Type Studio: Podcast editing software that transcribes your podcast so you can edit it by just editing the text.
Looking for an easy way to start a podcast?
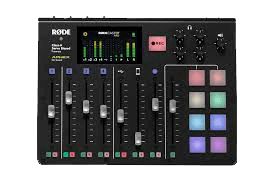
If you are looking for the easiest possible setup for recording your podcast, I recommend the Rode Rodecaster Pro. It will allow you to fully record every aspect of your podcast and not have to edit anything.
This one piece of equipment saves me a ton of time. Bring in sound effects, intros, and outros by pressing buttons while recording. It's a beautiful thing.
Get Royalty-free music for your intro/outro
The next thing you need is music for your intro and outro. You can get royalty-free music for this purpose. I recommend using a site like Music Bakery.
Step 4: Plan out your first sequence of episodes
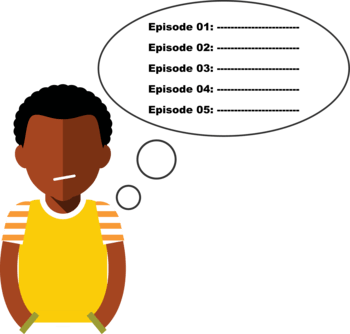
You want to get going with a strong set of episodes. In your first episode, you can give an intro to what your podcast will be about.
And the first few episodes should give the listener a clear picture of what your podcast episodes will be like.
For this reason, I recommend taking some time to plan out the first 3 or 4 episodes carefully. Give a good first impression.
What topics will you cover? What resources will you point people to? How will you set the stage for what is to come?
The goal is to set the right expectations.
Step 5: Record and Edit your Podcast
Alright, we have set the foundation. Now it's time to start recording the content. The technical aspect of recording and editing a podcast is something that intimidates a lot of people.
Fortunately, technology has come a long way, and it's easier than ever to sound like a radio DJ without a ton of training. Here's how to make it happen:
Start with an outline
If you're anything like me, you just may have the “gift of gab”. This gift comes in handy in many instances. Unfortunately, if that gift goes unchecked, you can end up with a podcast episode that runs off the rails. This will not accomplish your goal.
Whether you have the gift or not, it's a good idea to start with an outline. This will keep you focused on the topic and get you to the destination as efficiently as possible.
It will also help you to hash out your thoughts on the topic.
Write your intro and outro
While I don't ever read my episode, I consider the intro and outro so important that I do script it out and read it close to verbatim.
These two aspects of your episodes are so important. One sets the stage and one gives any calls to action you may have. Don't chance it. Write it out so that you can read it with enthusiasm.
The great thing is that the more you read it, the more it will sound like you aren't reading.
Write an Article (optional)
This optional step is something that I do that has some significant benefits. After my outline is written, I write an article based on the outline. This has two main benefits:
- It helps me refine my outline. Whenever I get into writing an article about the topic I outlined, I end up seeing gaps and making improvements. Sometimes, I rearrange my content to make it more effective. And that helps me to perform better when I record the episode. It's a step that always pays off. As an example, I completely left out the section above about writing the intro and outro. But when writing this article, I remembered how important that is – and now it's included.
- It helps you to Optimize your podcast for the search engines. It's no secret – Google loves written content. And by having a well-written article, you can take advantage of the SEO benefits.
Of course, you can also get someone else to write an article for you (something I've also done) or skip the article altogether. There are many podcasters who simply post a short summary to let people know what the episode is about. That serves as their show notes.
As a blogger, I love repurposing my content to maximize my impact (and potential for growth).
How to record your podcast
Alright, let's start recording. Your mini-podcast studio is set up and you have your outline in front of you. Hit record and start talking.
Talk into the mic, and keep it relatively close to your mouth (approximately 2 – 3 inches away). This will take some experimentation because different mics will sound better at slightly different distances.
Generally, keeping the mic relatively close will make it so that you are getting the full quality of your voice while minimizing room noise, which is exactly what you want.
You may want to experiment with positioning the mic slightly to the left or right of your mouth. That way, you aren't speaking directly into the mic. Test it out and see how it sounds.
One final tip.
When recording your podcast, imagine you're talking to a friend. You may even want to put a picture of a person in front of you. This will help you sound natural to your listeners.
How to record an interview
Interviews are a great way to provide valuable content and grow your audience. When you interview the right people, they have a lot of value to share. And if you make them look good, some of them will share your interview with their audience.
And fortunately, the tech is easier today than ever. But you have different options:
- Option 1: Use Skype (not Zoom). I highly recommend using Skype for your interviews. You will get a much better audio quality than Zoom. If you use Skype, you will need software to record your calls. On a Mac, I recommend Ecamm Call Recorder. With a PC, you can use Vodburner of Pamela.
- Option 2: Use Zencastr. If you want the highest possible quality, it's better to have your audio and your guest's audio recorded locally on both your computers, rather than over the internet. That's exactly what Zencastr does. It's slightly more involved to set up, but the quality is really good.
Editing and Exporting
If you do decide to edit your podcast, use one of the recommended editing programs mentioned earlier in this post. The process will vary from program to program.
However, I want to give you one general tip/challenge. Do NOT edit out your umm's and ah's. I know, they sound annoying. But keeping them in will challenge you to get better.
Here's the fact – most people won't notice them, but you will. And the more you notice it, the more you will practice and get better.
Get better, and you'll notice that those umm's and ah's will start to disappear.
Once you're done, export your file as an MP3. That will give it a relatively small fill size. It will also make it readable by just about any relevant device.
Tag your MP3 files
Once you have your MP3 file, it's time to tag it with all the relevant details about the episode. This includes your title, description, and your artwork. It also includes some additional details like year, your name, genre, and copyright info.
This is a simple step that makes your podcast episodes look complete in any podcast app.
Step 6: Post your episode
Bam, your episode is recorded and it's time to post it. First, you need somewhere to store your actual MP3 files. Of course, there are many options.
Podcast hosting
- Libsyn. This is one of the most popular options out there. You get unlimited downloads for a set price, which is a beautiful thing. Unfortunately, the interface is everything but beautiful. It pains me to look at it.
- Simplecast. This is the service I use. It's not only beautiful. It also has better analytics. Unfortunately, you don't get unlimited downloads. But, the downloads you do get are more than most podcasters will ever get. So it works for me. If I start getting more than 50K downloads/month, I'd be happy to upgrade.
- Anchor. This is a free service now owned by Spotify. It's a great way to get podcast hosting with no investment. It's also great for growing a community around your podcast. However, they compress the audio in a way that decreases the quality slightly. I'm not a fan of that.
Publishing your episode
Once your episode is uploaded to your podcast host, it's time to add it to your WordPress blog. Here's what I recommend:
- Create a category in WordPress for your podcast. Every episode should be added to that category.
- Add your show notes and embed the episode. This can be a simplified version of show notes or the article you wrote if you followed my advice.
- Optimize your post with the Yoast SEO plugin. If you opted for writing a detailed article, then squeeze all the SEO juice out of it. Use Yoast to optimize your post.
Submit your podcast to podcast directories
This is a one-time step that should be done before you launch your podcast. You want it to be available anywhere your listeners may be.
And once this is done, you can continue publishing your episodes in one place and it will be syndicated everywhere else.
To do this, you will need to get your RSS feed from your podcast host and submit it to the various directories. Here are links to do that:
- Apple Podcasts (formerly iTunes)
- Stitcher
- Google Play
- Spotify
- Radio.com
- iHeartRadio
- Pandora
- TuneIn
In my opinion, the most important one is Apple Podcasts. Once I get approval from Apple, I'm comfortable promoting my show.
Step 7: Promote your podcast
But it doesn't end there. Once your podcast has launched, it's time to promote it. Here are a few ways you can do so:
- Optimize your show notes. We already spoke about that, but I wanted to reemphasize it. Google can send you a lot of traffic if you do your job right. Learn about SEO and make it happen.
- Promote your podcast to your email list. If you've been building an email list (and you should), promote your episodes to your list whenever they get published. You already know they are interested in your content. You might as well share more with them.
- Promote your podcast on social media. Yes, social media can be a great way to get your content out there. Choose a platform or two to focus on. Learn about that platform and use it to promote your podcast (and other content as well). But remember – people are on social media to connect, not to be promoted to. Be strategic with your social media promotions and you'd be surprised at how it can help you grow your podcast.
- Connect with other podcasters. This is another great way to get your podcast out there. These connections can lead to interviews on other podcasts. Since their listeners are already listening to podcasts, give them another option.
There you have it. Those are all the steps involved in starting a podcast. So go forth and launch.
Do you already have a podcast? If so, post a link below with a description of what it's about. If you don't have one but are thinking about starting one, what's the topic? Let us know below.
Tools/Resources/References
- Tools for creating artwork:
- Podcast Audio Equipment:
- Recording and Editing Software:
- Royalty-free music for intro/outro:
- Tools for Recording Interviews:
- For making calls:
- For recording calls:
- Ecamm Call Recorder – recommended for recording Skype interviews on a Mac.
- Vodburner of Pamela – recommended for recording Skype interviews with a PC.
- Zencastr
- Podcast Hosting
- Optimizing WordPress blog posts:
- Podcast directories:
- Apple Podcasts (formerly iTunes)
- Stitcher
- Google Play
- Spotify
- Radio.com
- iHeartRadio
- Pandora
- TuneIn
Infographic